For my first post I thought, what best that making a little guide on how I created this blog. It’s based on Hugo, a markdown to HTML converser and site generator. Years ago I started with Jekyll, but now I moved to Hugo and I like it better. For hosting, I initially used GitHub pages, but at the end I followed Graham Helton idea and decided to use a bucket in AWS S3; it’s not free, but very cheap, and allows you to have your own domain name.
Graham Helton has a series of posts where he explains really well all the process to follow and the reasons for choosing this route, you can find them here. I’m not going to explain everything in so much detail, but I’ll follow all necessary steps to at least get the infrastructure and publish our blog with our own domain, forget about github.io and similar solutions, I think it’s worth it having your own site, so you can build your own brand 😉.
Why your own blog
Writing a blog requires investing a lot of time, and probably very few people will read it; in my case I’d say only myself 😅.
That being said, why bothering then, what can I contribute that is not being said or explained a thousand times by other people? In my case the main reason is to write in tutorial form different things I learn at work or while researching/testing something. I always(almost) take notes about all I do/install/configure/change, that way five minutes later, when I already forgot it, I can come back to my notes.
A blog will force me(so I hope) to invest some more effort and time in certain notes and projects, and there is not better way to learn something that explaining it to others. Another reason of course is sharing what I do in case it could be useful for others, same way I learn so much from other people’s blogs and content in the internet. I also want to use this blog as an excuse to practice technical writing and ideas exposition, which is always good 😊.
Tools
Besides the aforementioned Hugo, I use Obsidian for markdown editing, also recommended by Graham Helton, and that I discovered thanks to Belén, whom I recommend you follow on Twitter, I saw a thread from her explaining why and how she uses it for more efficient note taking, specially compared on how I was doing it with other tools(Cherrytree, Joplin). Personally, after her recommendation I’ve started using it at work as an internal wiki and I’m really please with the change. Another good option is VSCode, which I use for scripting, be it Python or PowerShell, o for configuration files in Terraform or Ansible. As a final option, Typora is great for Markdown editing, minimalist and intuitive, if you want something simple and very easy to use.
In this guide I’m going to explain how to use these tools to create your blog using Windows as your base OS - yes, I know, what a travesty!. I have to admit it, I use Windows as my primary work OS because a big part of my job -almost any cybersecurity job, I dare say- consist on writing documentation, reports and slide presentations; for that, I’m way more proficient with Microsoft Office, so I work on Windows and use WSL with Windows Terminal when I need Linux.
Last, to use Hugo from CLI I use, along with other tools, Chocolatey, a great package manager for Windows. Installing it is very easy, follow the instructions here from your Windows terminal 😊.
Preparing the local ground
Once we have Windows Terminal and Chocolatey installed, we can start configuring the framework for our blog.
Installing Hugo and creating our blog
Open Terminal and run:
choco install hugo-extended -confirm
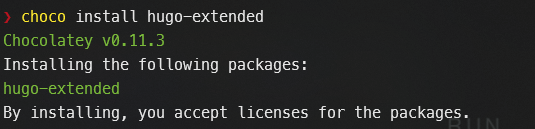
And that’s it, Hugo installed, Isn’t chocolatey cool? Next step is creating a new site, we make a new folder, i.e. ‘blog’ and execute:
mkdir blog
cd blog
hugo new site .
This creates the necessary scaffolding for our website.
Choosing a theme for our blog
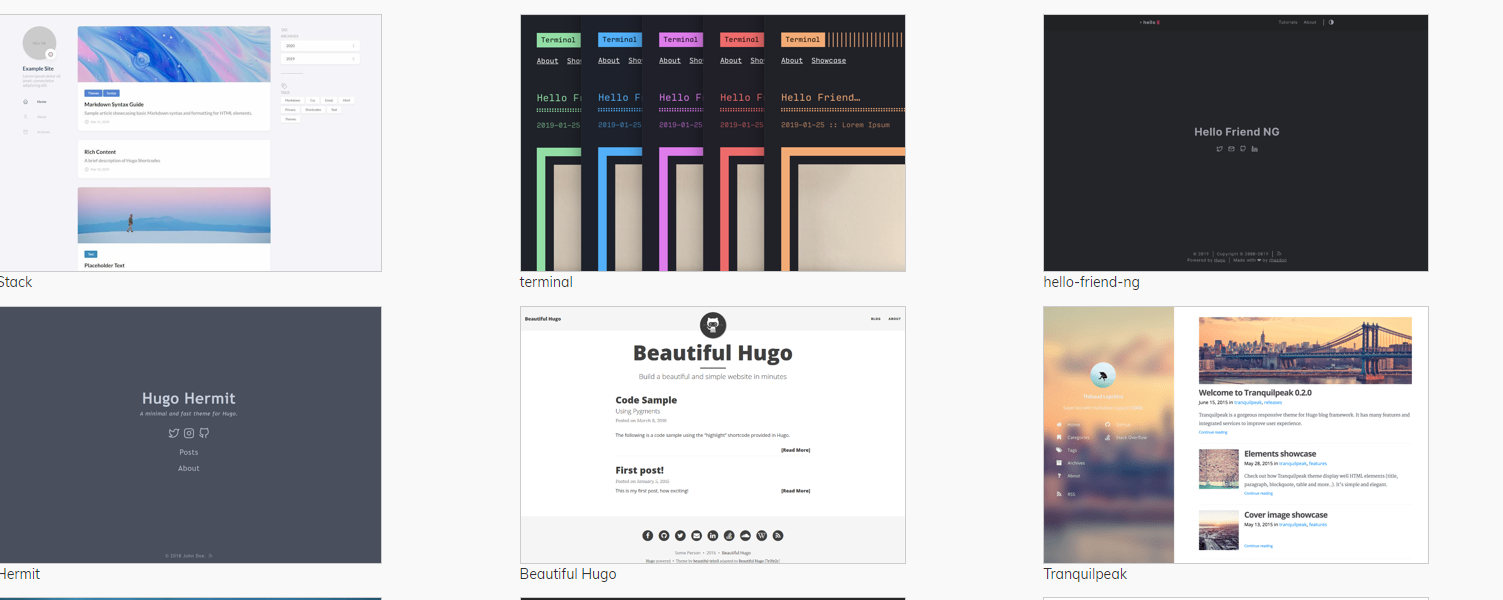
With Hugo we can choose among many opensource themes, to browse the catalog we can visit the themes site. I chose the theme Beautiful Hugo, although Hello-friend-NG is also a good starting option.
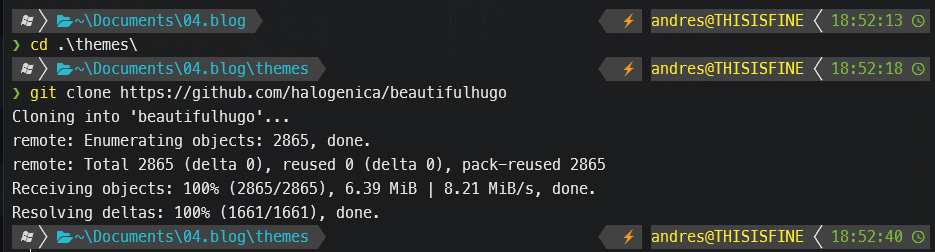
Once you chose a theme, we go to the GitHub page of the theme and copy the link to add it to our blog. We simply clone the repository in a folder called ’themes’ in our site’s root.
mkdir themes
cd themes
git clone https://github.com/halogenica/beautifulhugo
The next step is copying a couple of files from the theme’s example site. We copy themes\beautifulhugo\exampleSite\config.toml
to the root of our blog along with \themes\beautifulhugo\archetypes\default.md to the folder ‘archetypes’, overwriting the default file there.
Config.toml contains several parameters to configure our new site, and default.md is used as a template for the new posts we create with Hugo.
Basic configuration
We can -should- edit the configuration file we copied from the theme -config.toml- to adapt it to our blog.
baseurl = "http://cibermanchego.com"
DefaultContentLanguage = "en"
publishDir = "docs"
title = "Cibemanchego"
theme = "beautifulhugo"
metaDataFormat = "yaml"
pygmentsStyle = "trac"
pygmentsUseClasses = true
pygmentsCodeFences = true
pygmentsCodefencesGuessSyntax = true

[Params]

#  homeTitle = "Beautiful Hugo Theme" # Set a different text for the header on the home page

 subtitle = "Miguelitos and cybersecurity"
 mainSections = ["post","posts"]
 logo = "img/avatar.jfif" # Expecting square dimensions
 favicon = "img/favicon.ico"
 dateFormat = "January 2, 2006"
I changed the URL to the one of my domain, the title, logo and publishDir, I left everything else as default. I set ppublishDir to ‘docs’, that will output the contents of my site to that location when we are ready to publish our new blog entries.
Testing locally
Hugo allows us to test our site locally before going public, and changes are shown in real time thanks to Hugo’s engine. We create our first post:
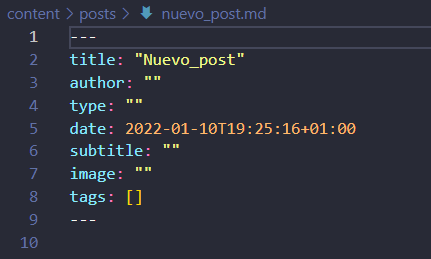
hugo new posts\nuevo_post.md
This command uses the file archetypes\default.md to create the post and generates a Markdown file with initial values where we can add tags and so on, and we can find this new file at content\posts\nuevo_post.md
Now it’s in our hands to add cool content along with lots of groundbreaking hacky stuff - or a simple guide like this one 😊. We run the local Hugo server to see the result from our site’s root folder:
hugo server
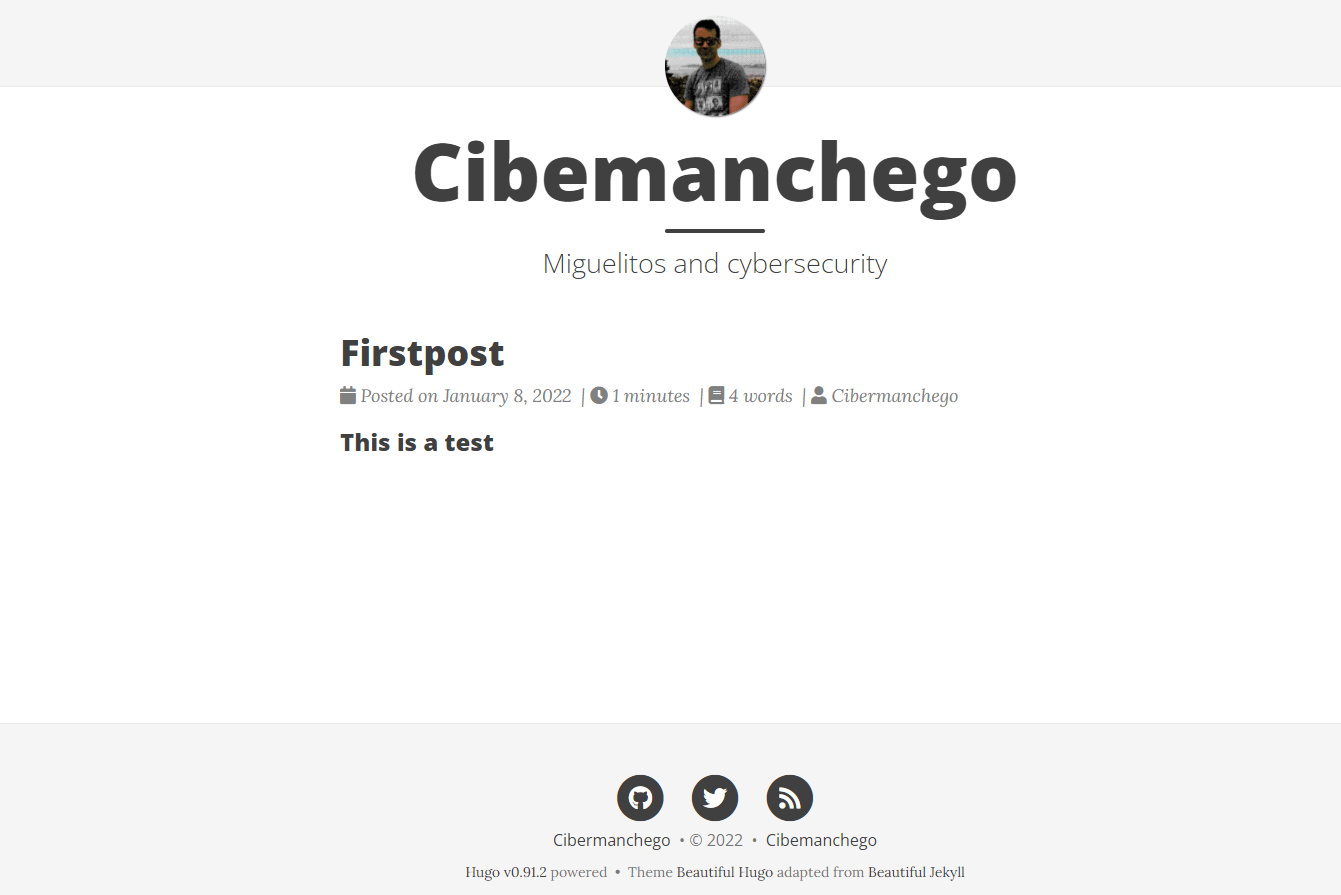
We can see at the end of the terminal how to access our blog: http://localhost:1313

The Alien on the screenshot it’s the background of my Windows Terminal, really cool eh 😛
We see the result with our theme in all its glory.
Moving to internet
Once we have a new post ready for the world to see, next step is to decide how to put our blog out there for everybody to see. A good option to start with, as I mentioned earlier, could be .GitHub pages. In this post you can follow an easy guide on how to configure it that way.
I preferred to follow Graham’s example and use AWS with my own domain. I followed the steps as explained next.
But first we must generate our blog with Hugo. Once we are happy with the post, execute from the root folder:
hugo
And that’s it, this will output the necessary files and copy them in docs, as we specified earlier. Now we need to configure the place from where our blog will be accessible.
Configuring our domain and AWS S3 bucket
We create an account on AWS if we don’t have one already and go to the route53 console to buy a new domain. Click on Register Domain and choose a name you like it. In my case I chose cibermanchego.com, which is 12$ per year. There are cheaper options, but there is little difference and I like the convenience of having everything for my site on the same place with AWS.

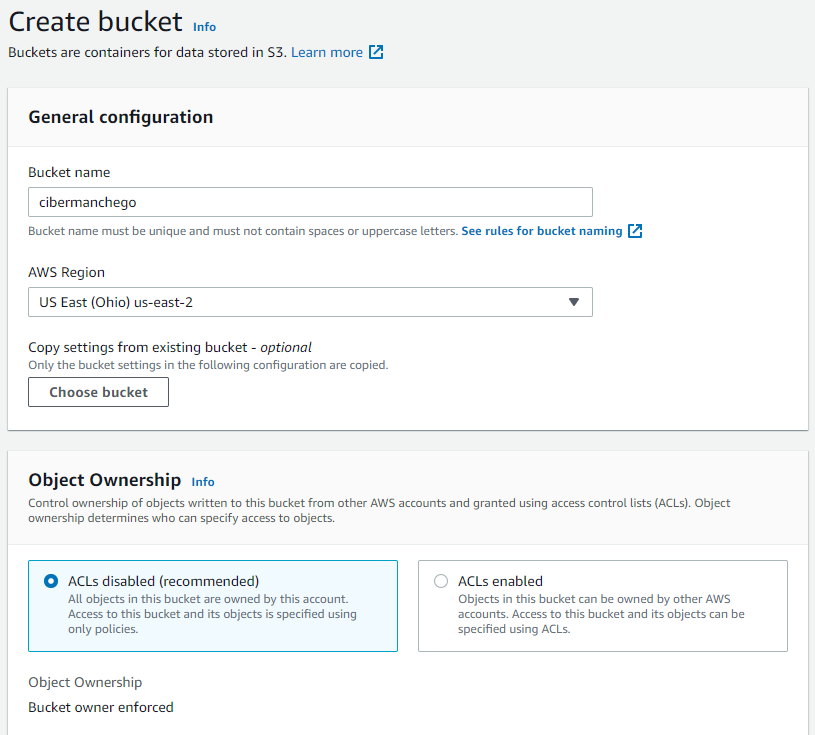
Now, we create an S3 bucket where we’ll upload the files from our blog.
It’s important to be aware that this bucket is going to be PUBLIC, be careful what files you upload here
We create the bucket with the same name as our just purchased domain.
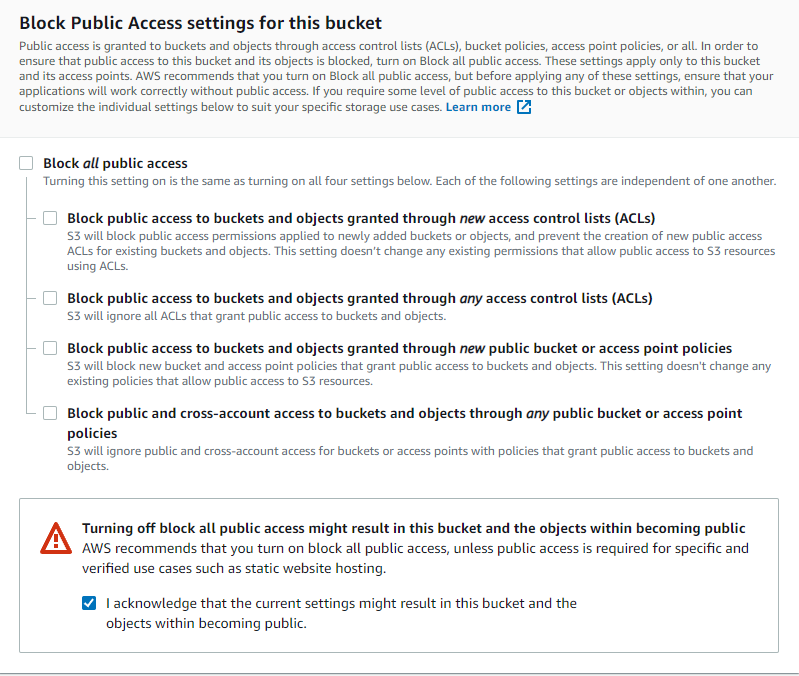
Unblock public access, as it’s what we are looking for.
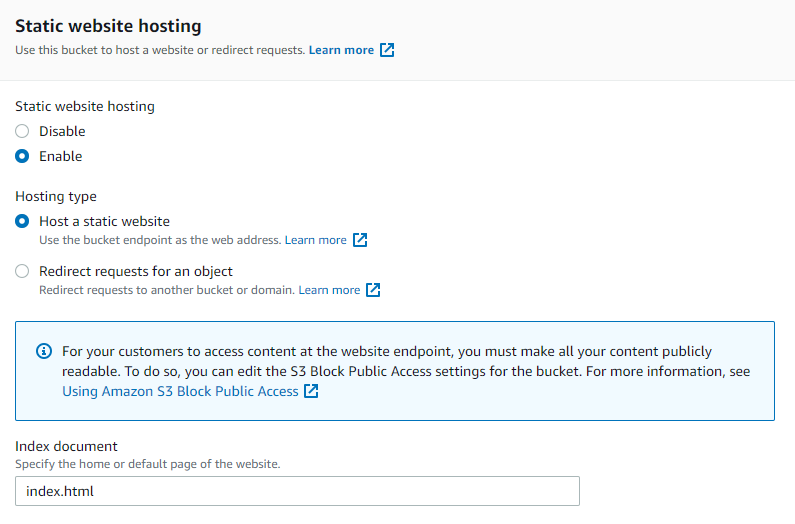
We enable the option Static Web hosting, and add index.html as Index Document
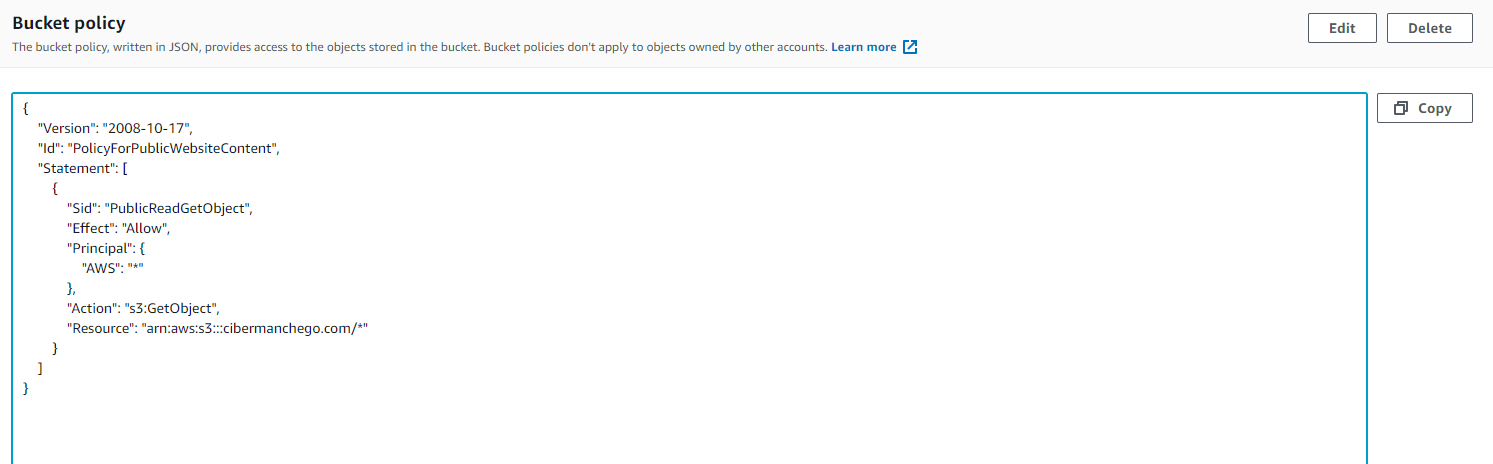
Add a public access policy, by just copying the following JSON code and changing the URL to the one of your domain:
{
    "Version": "2008-10-17",
    "Id": "PolicyForPublicWebsiteContent",
    "Statement": [
        {
            "Sid": "PublicReadGetObject",
            "Effect": "Allow",
            "Principal": {
                "AWS": "*"
            },
            "Action": "s3:GetObject",
            "Resource": "arn:aws:s3:::cibermanchego.com/*"
        }
    ]
}
Paste it on Permissions - Bucket Policy in our bucket:
The bucket it’s ready for our blog, but we still need to configure DNS for our domain. In the Route53 console, go to Hosted Zones where the zone to our domain should be already there. We’ll add an A registry and associate it to our bucket.
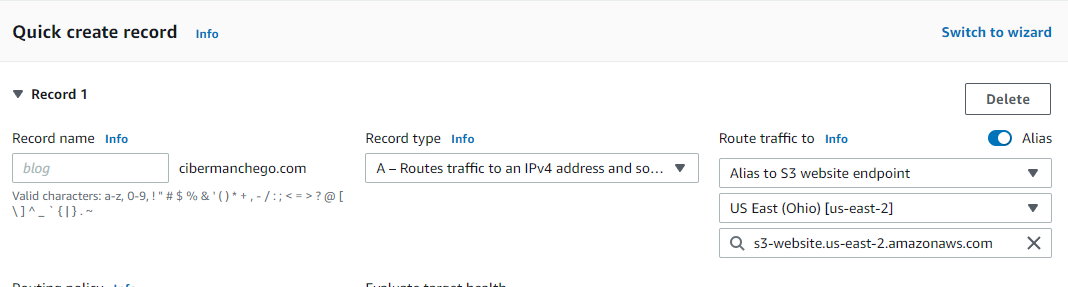
We can also create another registry CNAME to redirect www to our domain.

Uploading to our bucket
Last step would be uploading the files generated by Hugo to our new bucket. Let’s go again to S3 console, then to the bucket and click onUpload
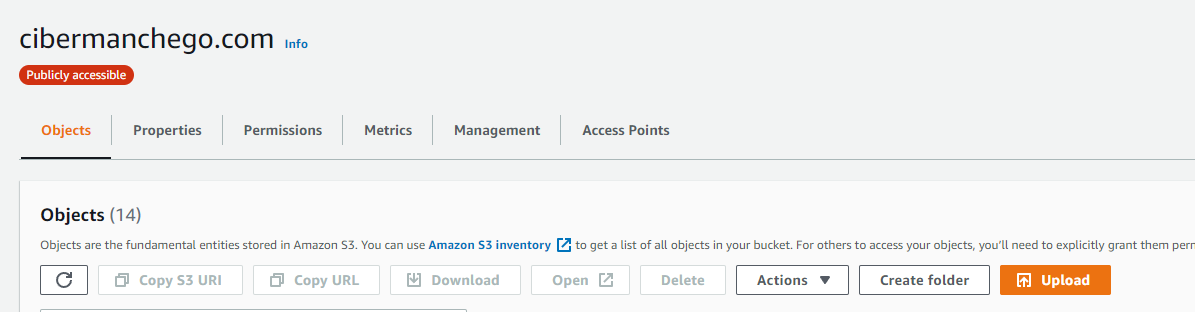
We can just drag and drop from our Windows explorer from the docs folder.
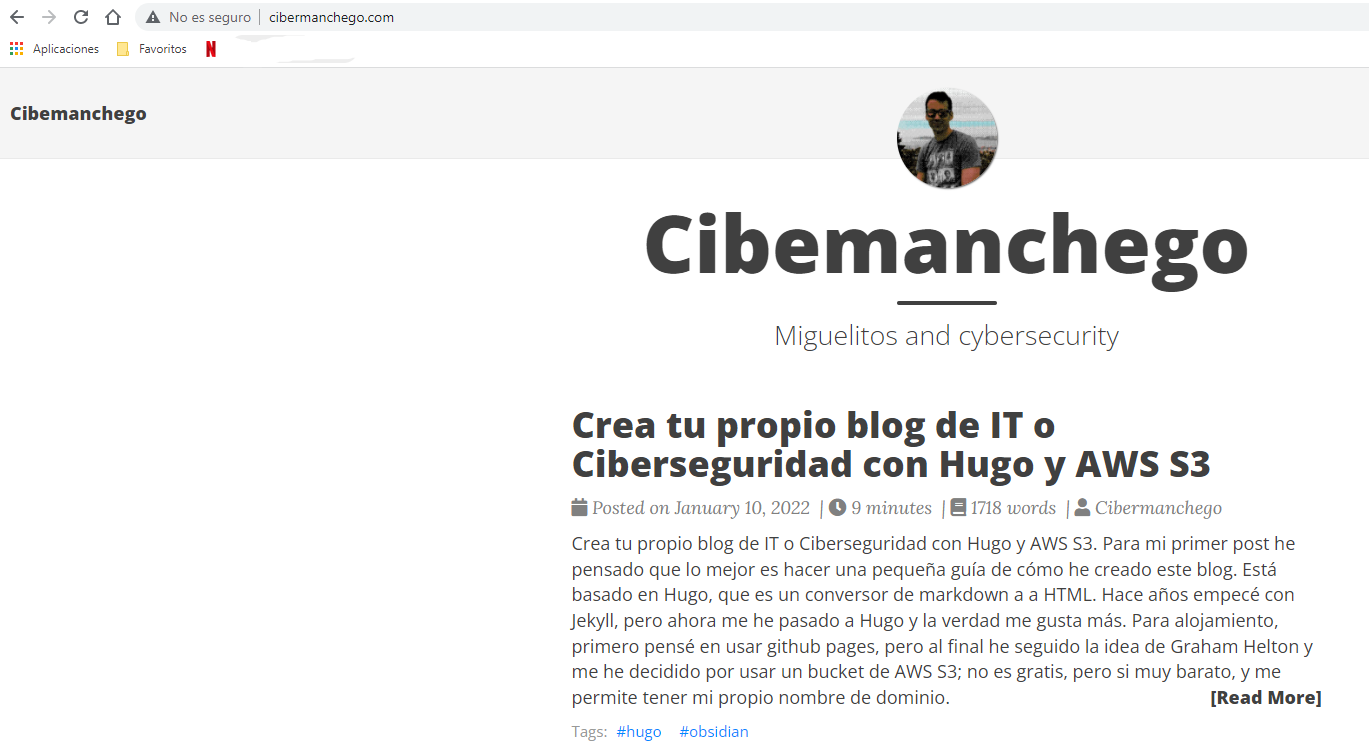
And we are basically done, now open your web browser and go to your domain name, and there you should see your beautiful new blog entry.
The whole post generation and publishing to internet process can be of course automated, as that’s part of the advantage of using Hugo and AWS S3, but that’ll may be for another post 😉.